
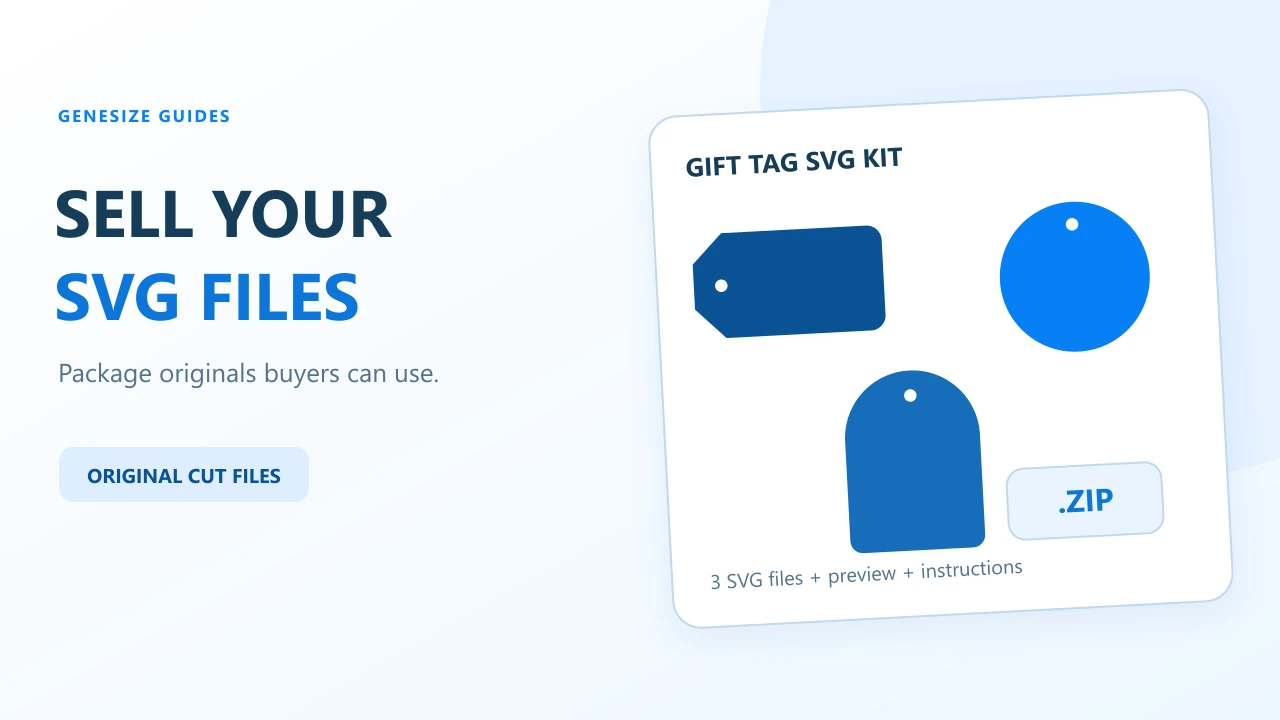
A finished product: the $9 Studio Gift Tags example
Suppose you already designed three gift-tag shapes. The buyer needs usable outlines with a hanging hole. Build the offer around those finished files.
What the offer should say
- Product
- Studio Gift Tags — three original SVG tag silhouettes.
- Included shapes
- Classic: 76 × 42 mm. Round: 60 × 60 mm. Arch: 54 × 72 mm. Each has a 5 mm hanging hole.
- Download
- Three SVGs, one PNG overview, README.txt and LICENSE.txt in one ZIP.
- Example price
- $9 USD, one-time purchase, with any applicable tax shown at checkout.
- Not included
- No printed tags, materials, machine, shipping, DXF files or editable lettering.
The download is a free educational sample. The $9 price illustrates a product offer; it is not a paid sample listing or evidence of sales.
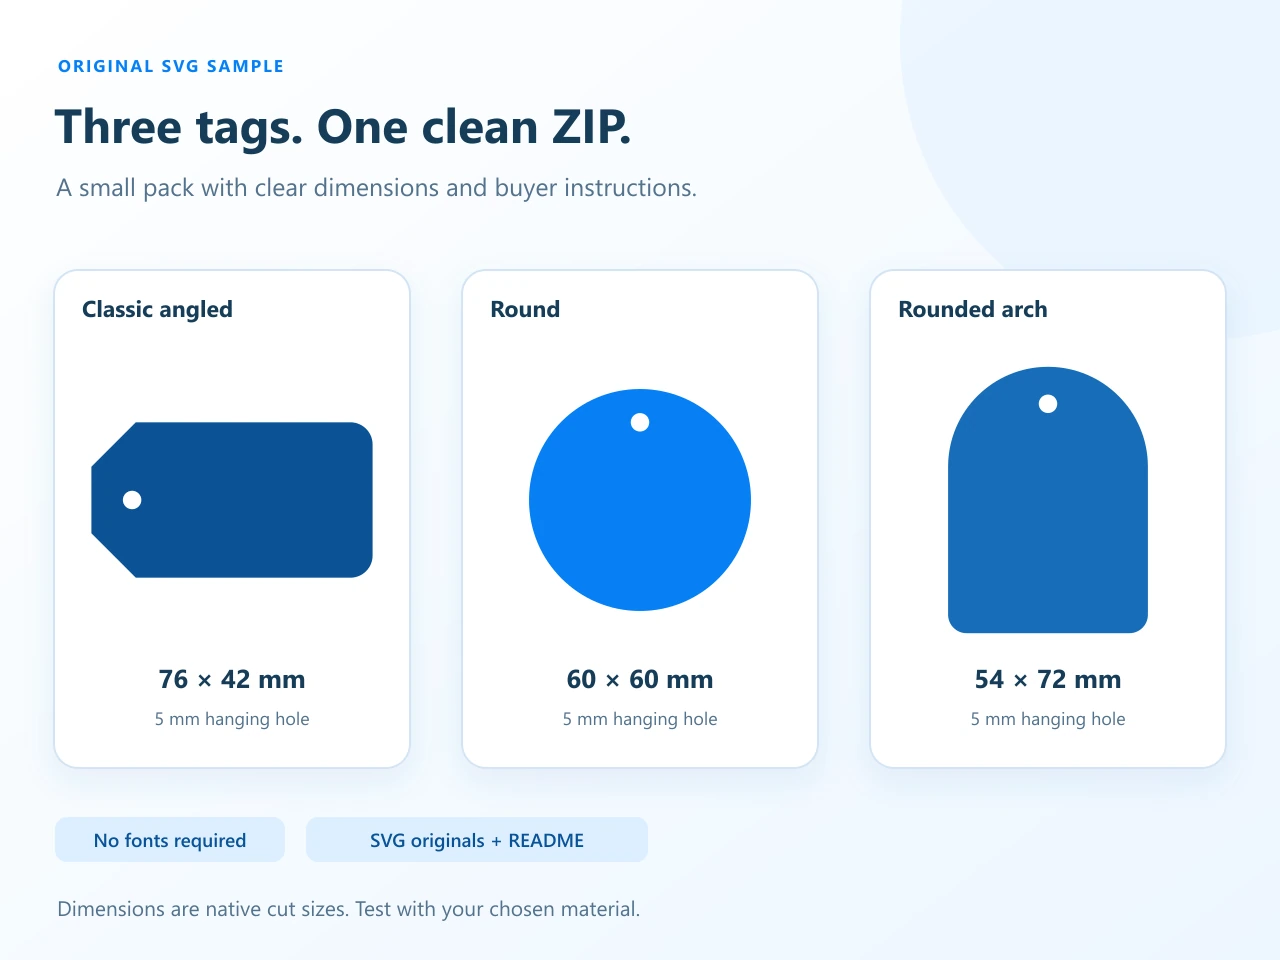
Get the SVGs, preview and instructions. The sample uses simple paths without fonts, photographs or external resources. Machine-specific testing remains separate.
Package a file set the buyer can understand
Export a clean delivery copy from your vector editor. Keep your working file separate, and include only the formats and variations promised on the sales page.
01-classic-tag.svg,02-round-tag.svgand03-arch-tag.svg: the three vector designs.preview.png: a visual reference, not an extra cut-file format.README.txt: contents, dimensions, extraction steps, import notes and support instructions.LICENSE.txt: the permission terms for this particular sample.
Use a plain ZIP rather than nested or password-protected archives. Extract a copy and count the files. On Windows, Extract All opens the extraction workflow; buyers should import an extracted SVG rather than the ZIP itself. Microsoft’s ZIP instructions.
Your README should list dimensions, units, formats, tested software and support instructions. Repeat important exclusions in the offer before checkout.
The sample permits personal projects and selling physical items, while restricting redistribution or resale of the raw or modified SVG files. Read its full license. For your own pack, use the personal and commercial permission checklist instead of relying on an unexplained “commercial use” badge.
Explain SVG, PNG and DXF before the buyer pays
| Format | What it provides | What to explain |
|---|---|---|
| SVG | Vector shapes and paths that compatible software can resize and edit. | Native size, units, layers and intended use. An SVG container alone does not guarantee suitable cutting geometry. |
| PNG | A pixel-based image, useful for a preview or a separate image product. | Pixel dimensions and transparency. Enlarging it does not turn it into original vector paths. |
| DXF | An additional vector interchange format, when you supply it. | Which software you tested. Cricut currently excludes DXF uploads on iOS and Android; do not promise a universal mobile substitute. |
Cricut’s current image-upload guide distinguishes raster and vector routes. Our gift-tag sample contains SVGs and a PNG overview; it does not include DXFs.
Buyers receive design files, not a website code service, finished vinyl decal or shipped tag. If your main product is printable artwork or PNG stickers, use the wall-art guide or PNG sticker-pack guide instead.
Check the vector export, not just its thumbnail
Keep a clean source file. Examine thin connections and small holes at the intended physical size. A scalable outline may still be too delicate for the material or blade.
Cricut’s unsupported-item guidance identifies editable text, clipping paths, non-flat fills such as gradients or patterns, linked images and embedded raster content as problematic in vector uploads. Convert lettering to paths when appropriate and resolve unsupported effects in your source editor. A raster export changes the product’s behavior; do not quietly replace a layered vector file with a PNG. Cricut’s unsupported-vector guidance.
For Design Space, upload an extracted SVG through Upload → Upload Image, choose the file and finish the naming/upload steps. Inspect the result on the Canvas. Cricut documents a 5,000-path SVG limit and explains that layered vector imports can arrive grouped. Current vector upload steps.
Check width, height, units and layer organization before saving the project and reopening it. Design Space’s Canvas offers size, position and operation controls; use the appropriate operation for the intended task. Canvas controls explained. An editor import is useful evidence, but it does not verify a physical cut or every Cricut or Silhouette setup.
Upload your finished pack and review the offer
Create the vector artwork in your editor first. Genesize handles selling and delivery. Raw .svg is not an original-upload option; this guide uses a protected ZIP route for simple static vector designs, subject to file checks.
- In Studio, choose Add product, then Choose file for the finished ZIP. Genesize suggests a draft title from its filename.
- After the file is saved, open Product details. Make the title readable, describe the included designs and enter the $9 starting price if using this example.
- Open Your content and check the attached ZIP. In Review & sell, complete the content-rights confirmation for work you may distribute.
- Choose Continue launch to review the next setup task. Check the final price and currency, sales-page contents and your seller Stripe connection for a paid offer.
- Use Review & publish → Test buyer experience before publishing. Share the public sales-page link after the reviewed offer is live.
Original-file uploads use no AI credits. Free to Sell provides the basic storefront, checkout and delivery route without a monthly subscription; AI, Growth, CRM and email marketing are excluded.
Current original uploads allow up to 10 attachments per product, normally up to 50 MiB each, subject to storage capacity and file checks. ZIPs containing SVGs have a smaller limit: 8 MiB per ZIP, up to 50 SVGs, no more than 250 KiB per SVG and 1 MiB of SVG content in total. Use a plain SVG export with static shapes, paths and flat colors. Scripts, links, embedded images, styles and editor-specific metadata are unsupported; export comments must also be removed. Keep the original editable source separately and split larger packs into clearly named ZIPs.
Work out the fees on a $9 SVG pack
| Sale source | Genesize rate | Genesize fee | After that fee, before processing |
|---|---|---|---|
| Direct sale | 10% | $0.90 | $8.10 |
| Marketplace-attributed sale | 30% | $2.70 | $6.30 |
Stripe processing and other applicable costs are separate. Paid plans add a subscription and use different commission rates: Starter 6.45% direct / 20% Marketplace; Scale 3.45% direct / 10% Marketplace; Business 1.45% direct / 5% Marketplace. Compare your expected volume using the fee calculator and current pricing.
The $9 example is not a valuation of every SVG set. Consider the designs, instructions and support. The pricing guide helps compare an individual pack with a larger, clearly scoped bundle.
Test the ZIP the buyer actually receives
- Save the product, open Test buyer experience and complete the simulated checkout. It creates no order or charge.
- Open the private test delivery, choose Open test purchase when prompted and download the ZIP from Included downloads.
- Extract that delivered archive. Confirm the three SVG filenames, PNG, README and license match the offer.
- Open the delivered SVGs in a vector editor. Inspect the shapes and hole, check native dimensions, make a small edit in a copy and reopen it.
- Separately test the target cutting app and, before claiming cut performance, the intended machine, material and size.
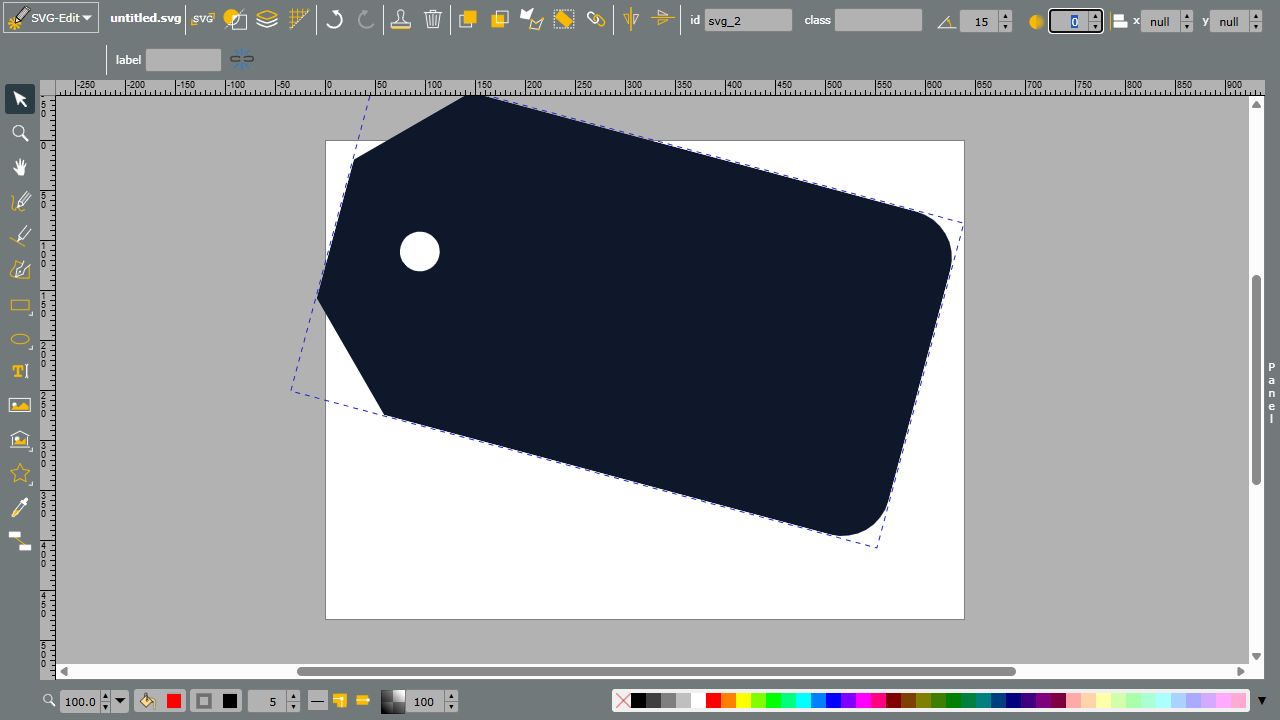
Sample verification: we downloaded the sample ZIP from this guide, extracted all six files and confirmed that the archive matched the original byte for byte. In automated local tests, this exact ZIP passed Genesize’s protected archive validator and private-download response checks. In SVG-Edit, we imported the classic tag, saw the open hanging hole and changed the selected vector’s rotation to 15 degrees. No payment was made. The Cricut steps above come from its official documentation; test your own design in the intended app and machine before promising cutting compatibility.
Private test links last 30 minutes while the tested draft stays unchanged. A successful file response is different from opening its contents. The simulation does not verify a Stripe charge, tax, an app import or a physical cut. Keep private links out of public posts; share the public offer instead.
For a buyer who loses access, use My purchases with their checkout email. Sellers can find the order under Storefront → Orders and review its payment, access and email status.
Fix the problem the buyer is actually having
| Problem | Check | Next step |
|---|---|---|
| The buyer sees one ZIP instead of designs | Whether they extracted it and selected a file inside. | Point to the README and extracted SVGs, not the ZIP’s preview image. |
| The SVG opens in a browser instead of an editor | The file extension and chosen application. | Use the editor’s import/open command. The default browser association does not turn the SVG into an HTML product. |
| The cutting app rejects the file | Unsupported features and path count. | Review the source export against the app’s documented limits; test the corrected delivery copy. |
| The design has the wrong size or tiny details | Units, imported dimensions and smallest shapes. | Set the intended dimensions and inspect material clearances before claiming a successful cut. |
| Text, color layers or holes look different | Live text, grouping and actual path geometry. | Inspect the vector source and imported layers. Do not treat the PNG overview as proof of editable paths. |
| The buyer expected printed tags or another format | The headline, preview labels and listed contents. | State “digital SVG download,” list the included formats and explain that no physical item is shipped. |
Common questions about selling SVG files
How do I sell SVG files online?
Start with finished vector artwork you can distribute. Export and inspect the SVGs, package the promised files with a preview and README, then publish a product page with checkout and private delivery. Test the delivered archive and the intended software separately before advertising compatibility.
Can Genesize create SVG cut files for me?
Create your artwork in a vector editor. Genesize provides the product draft, sales page, checkout and delivery; it does not draw SVG artwork or certify a cutting file.
Should an SVG product include PNG and DXF files?
Include a PNG preview so buyers can see the design, but explain whether it is only a preview or a separate usable image. Supply a DXF only if you export and test it. Extra file extensions do not establish compatibility, and a PNG is not a substitute for the original vector paths.
Can I upload a raw SVG directly to Genesize?
A raw SVG is not one of Genesize’s original-file upload options. This guide packages the SVGs in a ZIP. Archives undergo their own checks, so inspect the sample verification and test your actual pack rather than assuming every SVG archive will be accepted.
Will these SVG files work in Cricut Design Space?
Cricut documents SVG image uploads, but that does not certify a particular design. Its unsupported-item guidance covers editable text, clipping paths, non-flat fills and raster images inside vector files. Test your delivered SVG in the intended app and check the dimensions and layers; a physical cut is a separate test.
Why does an SVG look correct in a browser but fail to import?
A browser can display features that a cutting application does not support. Inspect the vector export for masks, live text, linked resources and image-based effects. Correct those in the source artwork and retest the exported SVG, rather than only checking its browser thumbnail.
Can I test the buyer download without charging a card?
A Genesize workspace owner can open Test buyer experience on a saved draft, complete the simulated checkout and inspect its private delivery. That creates no order or charge. Download and extract the delivered ZIP, then test its SVGs in a separate editor or target app. The simulation does not verify a real payment or machine cut.
What should my SVG license say?
State the permissions your product actually includes: personal projects, physical items for sale, client work, and any limits on digital redistribution. Explain whether editable source files may be resold or shared. The sample has its own LICENSE.txt; do not assume its terms apply to artwork or fonts you obtained elsewhere.
Your designs are ready. Make the download clear.
Package the files, explain their use and test the copy buyers receive before sharing your offer.
Explore Free to Sell